
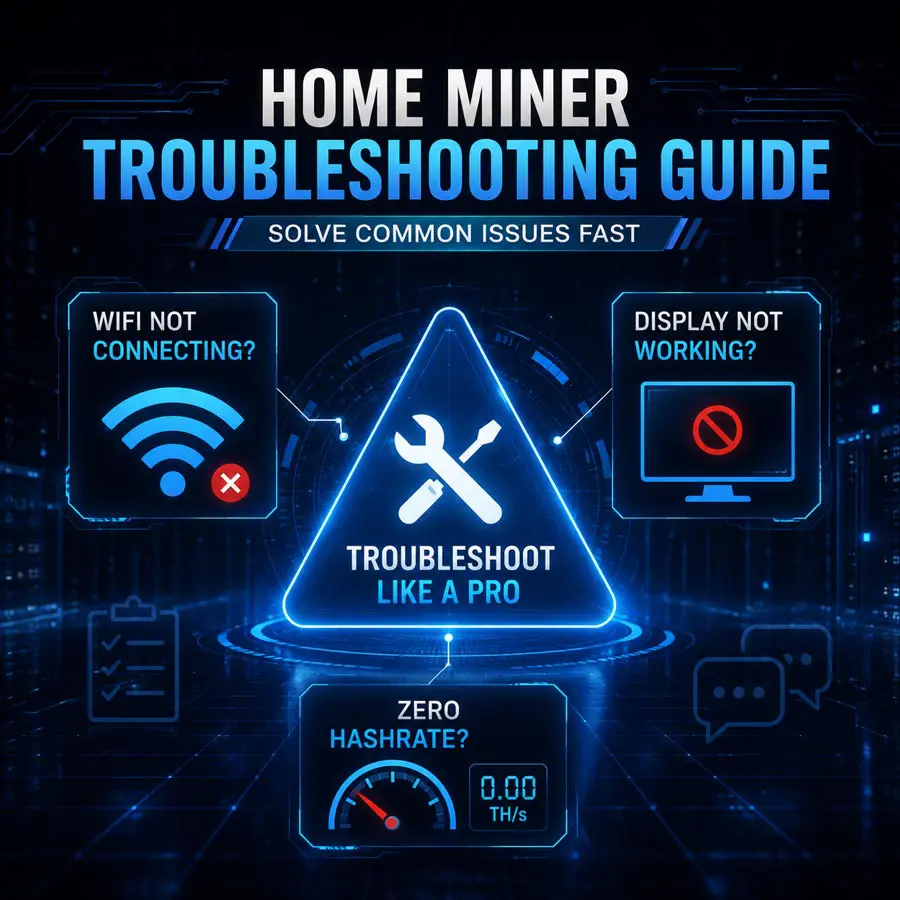
Home Miner Troubleshooting Guide: Fix WiFi, Display, and Hashrate Issues
You excitedly unbox your new miner, plug it in, and wait for it to start mining. But instead of seeing your hashrate climb, you’re staring at a blank screen. The WiFi won’t connect. The dashboard shows 0 TH/s.
At this moment, are you convinced you bought a “defective unit”? Are you already drafting a return request?
This home miner troubleshooting guide walks you through each of these three frustrating problems step by step. Follow along, and you’ll discover that many issues can be resolved in just a few minutes. And if you can’t solve it yourself, our after-sales team is always here to help.
PART ONE: WIFI NOT CONNECTING? CHECK THESE 5 DETAILS
WiFi connection problems are among the most common issues reported by home miner users. Statistics show that over 60% of WiFi connection failures stem from easily overlooked details.
1. Are You Using a 2.4G WiFi Network?
This is the most frequently overlooked point. The vast majority of home miners only support 2.4G WiFi, not 5G. If your router broadcasts both 2.4G and 5G bands, your phone or computer may automatically connect to 5G, which the miner cannot detect.
Solution: In your router settings, create a separate 2.4G network name for your miner, or temporarily disable the 5G band until the miner connects successfully.
2. Does Your WiFi Name or Password Contain Special Characters?
Some miners have strict character restrictions for WiFi credentials. They only support English letters, numbers, and common symbols. If your WiFi password contains emojis or other special symbols, the miner may fail to recognize it.
Solution: Change your WiFi name and password to a combination of English letters and numbers only, then retry the connection.
3. Is the Miner Too Far from Your Router?
The WiFi antenna on a miner has limited power. If the miner is separated from the router by multiple walls, or if the distance exceeds 10 meters, the signal strength may be insufficient to maintain a stable connection.
Solution: Move the miner closer to the router, or use a WiFi signal extender. If possible, prioritize a wired Ethernet connection for maximum stability.
4. Do You Need to Reset the Miner’s Network Settings?
Miners come with pre-configured network parameters from the factory. If you previously connected to another network, the miner may retain old settings and fail to connect to your new WiFi.
Solution: Locate the reset button on the miner (usually a small hole or button on the body). Press and hold for 3 to 5 seconds to restore factory settings. After resetting, the miner will broadcast a new WiFi hotspot, and you can reconfigure the network from scratch.
5. Is the Miner’s Main Control Chip Starting Normally?
Some users report that the power indicator lights up, but the WiFi function doesn’t respond at all. This could indicate the main control chip has not started properly.
Solution: After powering on the miner, press the reset button once to three times (not a long press) to reinitialize the main control chip. In many cases, this simple action restores WiFi functionality.
PART TWO: DISPLAY NOT WORKING? DON’T ASSUME IT’S “BROKEN”
A blank display is another high-frequency issue. But in many cases, a blank screen does not mean the miner is damaged.
1. First, Confirm Your Power Adapter Is Producing Output
This is the first step in any diagnosis. The power adapter is the foundation of the miner’s operation. If the adapter has no output, the miner cannot power up, and the screen will stay dark.
Solution: Use a multimeter to measure the adapter’s output voltage and confirm it falls within the rated range. If the output is abnormal, the adapter needs to be replaced.
2. Check If the Power Cable Is Fully Inserted
Sometimes the problem is embarrassingly simple. The power cable isn’t fully inserted, or the plug is loose, causing poor contact and insufficient power delivery.
Solution: Unplug and replug the power cable, ensuring the connection is secure. If the cable shows signs of damage, replace it immediately.
3. Try Pressing the Reset Button
A blank screen with the fan spinning usually indicates the main control chip has failed to start properly.
Solution: While the miner is powered on, press the reset button once to three times to reinitialize the main control chip. This simple action often resolves the blank display issue.
4. Is the Power Adapter’s Indicator Light Working?
Some power adapters feature an indicator light. If the light is off or flashing, the adapter output may be abnormal.
Solution: Check if the wall outlet has power. If the outlet is fine but the indicator light remains off, the adapter is likely damaged.
5. What If None of the Above Works?
If you’ve confirmed the power adapter is outputting correctly, the power cable is secure, and you’ve attempted the reset operation, but the screen is still blank, there may be a genuine hardware issue. Contact after-sales support with your troubleshooting history.
PART THREE: ZERO HASHRATE? CHECK THESE 5 AREAS
Zero hashrate is the most anxiety-inducing problem for users. The miner is powered on, the screen is lit, the WiFi is connected—but the dashboard shows 0 TH/s.
1. Is Your Pool Address and Port Correct?
This is the most common cause. If the pool address or port is entered incorrectly, the miner cannot establish a connection with the pool and therefore cannot start mining.
Solution: Carefully verify the pool address and port number. Different pools may offer multiple ports corresponding to different difficulty levels. Start with the pool’s official default port. Check for correct configurations.
2. Is Your Wallet Address Valid?
Mining rewards are sent to your wallet address. If the address format is incorrect, or it’s not the correct mainnet address for that coin, the miner may not be able to submit hashrate properly.
Solution: Confirm that you are using the correct mainnet wallet address. For example, Bitcoin addresses typically start with “1,” “3,” or “bc1.”
3. Is the Pool Difficulty Higher Than Your Miner’s Hashrate?
Some pools set a minimum difficulty threshold. If your miner’s hashrate falls below the pool’s requirement, the pool will reject submissions.
Solution: Choose a pool that supports low-hashrate miners. Miners with 500GH/s or above can connect to pools with difficulty below 1000. For entry-level miners, look for pools that support low difficulty.
4. Did You Save and Restart After Configuration?
After filling in the pool and wallet information, you need to click “Save” and then “Restart.” The miner loads the new configuration only after restarting.
Solution: After entering all information, save first, then restart. Wait approximately 30 to 60 seconds, and the miner should connect to the pool.
5. Is the Miner Operating Temperature Too High?
If the ambient temperature is too high, the chip may trigger a protection mechanism, reducing frequency or pausing operation.
Solution: Place the miner in a well-ventilated environment. Keep ambient temperature between 0 and 30°C.
PART FOUR: ADVANCED TROUBLESHOOTING: LOGS AND FIRMWARE
If the basic steps haven’t resolved the issue, you may need to go a step further.
1. Check the Miner’s Operation Logs
Most miners provide a log viewing function. Logs record the miner’s operational status, error messages, and communication with the pool. By reviewing the logs, you can determine whether the problem lies in network connectivity, pool communication, or hardware.
2. Check if Firmware Needs Updating
Manufacturers periodically release firmware updates to fix known issues. Try updating to the latest firmware version.
Note: Always use . Using unofficial firmware may cause the miner to malfunction and void the warranty.
3. Confirm Power Specifications Are Compatible
Confirm that your power adapter’s output voltage and current meet the miner’s needs. Using an undersized power supply can cause unstable operation.
PART FIVE: BUILDING THE RIGHT TROUBLESHOOTING MINDSET
Finally, some practical advice.
1. Troubleshooting Is a Process, Not a Race
Miner troubleshooting requires a step-by-step approach. Don’t give up just because the first attempt didn’t solve the problem. Each step brings you closer to the root cause.
2. Document Your Troubleshooting Steps
When you contact after-sales support, clearly describing the steps you’ve tried helps technicians diagnose the problem faster.
3. Use Official Support Channels Wisely
If you’ve completed all the steps and the problem persists, contact after-sales support. Provide your device model, purchase date, troubleshooting steps, and any relevant logs.
CONCLUSION: MOST PROBLEMS CAN BE SOLVED BY YOURSELF
WiFi not connecting, blank display, zero hashrate—these three issues sound intimidating, but the vast majority can be resolved through simple troubleshooting.
This home miner troubleshooting guide covers the most common diagnostic paths. Follow the steps, and you may only need a few minutes to identify the root cause.
And here’s the thing: if you can’t solve it, that’s okay. You’re not alone. Every manufacturer expects some percentage of users to encounter issues they can’t resolve on their own. That’s exactly what after-sales support exists for.
When you reach out to our support team, you don’t need to worry about being judged or blamed. We’ve seen it all—from simple configuration oversights to genuinely defective units. Our job is to help you get mining again, not to make you feel bad about asking for help.