
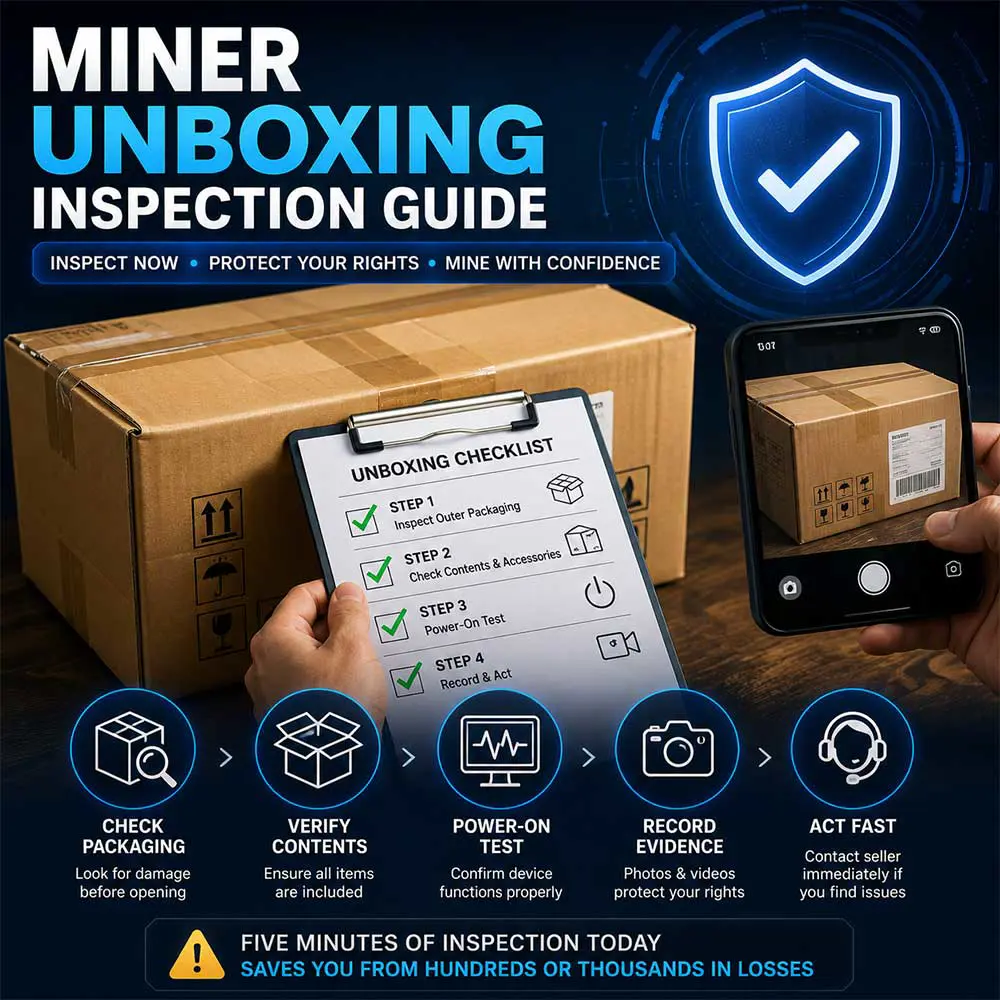
Miner Unboxing & Damage Inspection Guide: Protect Your Warranty
Your mining device has traveled a long journey before reaching your doorstep. Domestic shipping involves multiple transfers and sorting processes. International shipping adds customs inspections and potentially rough handling. When the courier finally hands you the package, what do you expect to see?
Most likely, a perfectly intact device that powers on and starts mining right away.
But reality is not always that perfect. In our after-sales data, issues such as “damaged packaging,” “damaged product,” and “device not starting upon arrival” are not uncommon. Some users do not inspect their devices carefully during unboxing. By the time they discover a problem, the platform’s dispute window has closed, or they lack sufficient evidence to claim warranty or insurance.
Taking five extra minutes for a proper unboxing inspection can save you hundreds or even thousands of dollars in potential losses. This miner unboxing inspection guide will walk you through the entire receiving process to protect your rights.
STEP 1: INSPECT THE OUTER PACKAGING BEFORE OPENING
After the courier delivers the package, do not rush to open it. Check the outer packaging before signing for delivery.
1. Look for Visible Damage
Check the cardboard box for obvious signs of crushing, deformation, tears, water stains, or dirt. If the outer packaging is severely deformed, the device inside may have been subjected to significant impact. In this case, open the box in front of the courier and document everything with photos.
2. Check the Weight
If the package feels noticeably lighter than expected, or if you hear loose objects rattling inside, this may indicate that internal components have become dislodged or damaged.
3. Take Photos Before Opening
Before unboxing, take photos of the outer packaging from multiple angles, including the shipping label and any visible damage. These photos are critical evidence when filing a claim with the logistics company or platform.
STEP 2: CHECK THE INTERNAL PACKAGING AND ACCESSORIES
After removing the outer packaging, do not rush to pull out the miner. First, inspect the internal packaging.
1. Check the Protective Materials
Miners are typically packed with foam, bubble wrap, or other shock-absorbing materials. If these materials are crushed, deformed, or shifted, the device may have suffered a significant impact.
2. Verify All Accessories Are Present
After opening the package, verify each of the following items:
Mining device
Power adapter
Power cable
Warranty card (if included)
If any accessory is missing, take photos immediately and contact the seller.
3. Inspect the Device Exterior for Visible Damage
After removing the miner, carefully inspect the following areas:
Casing for dents, cracks, or scratches
Cooling fans for damage or deformed blades
Connectors for bending, breakage, or burn marks
Screen for cracks (if your model has a display)
Any visual abnormality should be photographed and saved.
STEP 3: POWER ON TEST TO CONFIRM THE DEVICE FUNCTIONS
After the visual inspection, the next step is a power-on test. This helps identify any internal damage caused by transit.
1. Connect the Power Supply
Use the power adapter included with the device (or a compatible adapter that meets the device’s specifications). Confirm that the power indicator light illuminates normally.
2. Check the Fan Operation
After powering on, observe whether the cooling fan spins normally. If the fan does not rotate or makes a noticeable abnormal noise, internal components may be damaged.
3. Check the Display (if Applicable)
Some miners feature a display screen. After powering on, confirm that the screen displays content correctly. If the screen stays blank or shows abnormal content, further troubleshooting is needed.
4. Check the WiFi Hotspot Broadcast
Once booted, most miners broadcast a WiFi hotspot. Use your phone to search for available networks and confirm the hotspot appears. If the hotspot cannot be found, this may indicate a fault in the main control chip or WiFi module.
5. Record Your Test Results
After completing the power-on test, take photos or a screen recording of the device’s operating status. These records serve as important evidence if you need to file a warranty claim.
STEP 4: IF YOU FIND A PROBLEM, ACT IMMEDIATELY
If you discover any issues during the unboxing inspection, do not hesitate. Follow these steps right away.
1. Keep All Packaging Materials and Evidence
Do not discard the shipping box, protective materials, accessories, or any related documents. These are essential evidence for returns, exchanges, warranty claims, or insurance claims.
2. Record the Problem with a Video
Take a clear video showing the device’s malfunction. The video should include:
The device’s model label or serial number
The visible damaged area
The specific performance when powered on
Videos are more convincing than photos alone, especially when filing claims with platforms or logistics companies.
3. Contact the Seller Immediately
Send your photos and videos to the seller and describe the issue. The seller will provide appropriate solutions, such as returns, exchanges, or repairs.
If you purchased through an online platform, you can also file an after-sales request within the platform. Most platforms require evidence to be submitted within a certain timeframe, so the sooner the better.
4. Contact the Logistics Company (If Shipping Damage Is Confirmed)
If the outer packaging shows obvious damage and the device’s damage aligns with the damaged area, you may be eligible for compensation from the logistics company. Different carriers have different claims processes. We recommend contacting the seller or platform support for guidance.
APPENDIX: UNBOXING INSPECTION CHECKLIST
| Check Step | Check Item | Normal Status | Abnormal Handling |
|---|---|---|---|
| Step 1 | Outer Packaging | Box intact, no visible deformation | Take photos, contact logistics for claim |
| Step 2 | Protective Materials | Intact, no crushing or shifting | Take photos, contact seller |
| Step 2 | Accessories | Miner, power adapter, cable, manual all included | Take photos, contact seller for replacement |
| Step 2 | Device Exterior | Casing intact, connectors undamaged | Take photos, contact seller |
| Step 3 | Power-On Test | Power light on, fan spins, WiFi hotspot appears | Take photos/video, contact seller for after-sales |
CONCLUSION: FIVE MINUTES OF INSPECTION PREVENTS FUTURE HEADACHES
This miner unboxing inspection guide is something we hope you never need to use. But if a problem does arise, it will help you handle it quickly and systematically, avoiding the frustration of insufficient evidence when claiming warranty or insurance.